
The Ultimate Guide on How to Paint a Shed
TL;DR: Painting a shed is really about turning a basic outdoor structure into something that feels finished and personal. The process starts with proper prep like cleaning, fixing any surface issues and sanding if it’s wood, since a good base makes all the difference in how the paint turns out and lasts. From there, it comes down to choosing the right exterior paint, using the right tools and applying even coats for a clean finish. Resin sheds with Duotech technology are a bit simpler since they don’t need sanding, while wood sheds need a little more prep and upkeep. Either way, regular touch-ups and maintenance help keep the shed looking fresh for years.
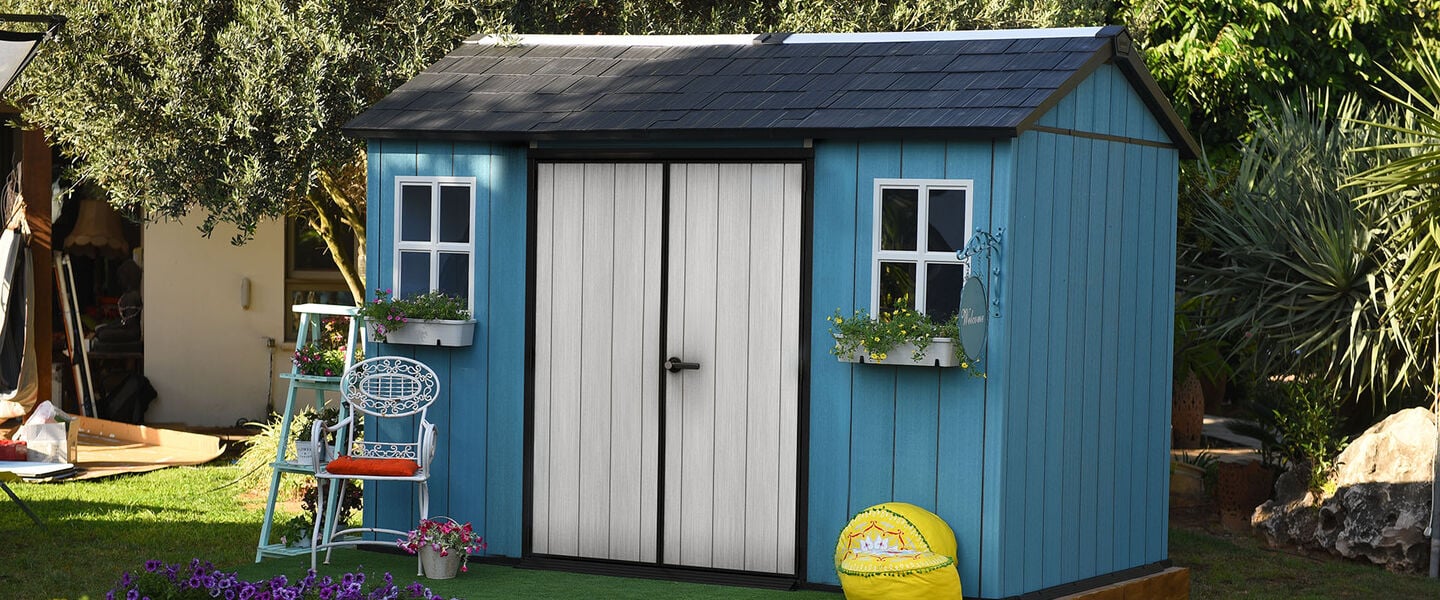
Whether your shed is a functional storage space or a quaint retreat nestled in your backyard, there's something magical about the prospect of giving it a fresh, vibrant coat of shed paint. Your shed is more than just a structure; it's an extension of your home, a canvas waiting for your personal touch. As we delve into the nitty-gritty of shed painting, we'll discuss surface preparation, explore the array of tools and materials you need, and guide you through a step-by-step shed painting process that even the novice DIY enthusiast can master.
But this guide goes beyond the basics. We'll delve into the art of color selection, helping you choose hues that harmonize with your surroundings and evoke the desired atmosphere. Along the way, we'll troubleshoot common shed painting pitfalls and equip you with the knowledge needed to maintain your masterpiece for years to come.
So, whether you're gearing up for a weekend project or seeking inspiration for a total shed makeover, join us on this adventure as we brush up on the ultimate guide to transforming your shed into a work of art. Let the shed painting commence!
Preparing Your Canvas: Shed Surface Preparation

Before diving into the world of vibrant colors and brush strokes, the key to a successful shed-painting project lies in the meticulous preparation of your canvas. In this section, we'll guide you through the crucial steps of cleaning and surface inspection, as well as the art of sanding and smoothing, ensuring your shed is ready for its stunning makeover.
Cleaning and Surface Inspection for All Shed Types
The foundation of any successful shed paint job is a clean and well-prepared surface. Dirt, grime, and old paint can hinder the adhesion of new paint, leading to a lackluster finish and potential peeling. Take the time to thoroughly clean the shed's exterior using a mild detergent and water solution. Consider pressure washing for stubborn stains and accumulated dirt (depending on your shed material type) to ensure a pristine canvas for your paint to adhere to.
Identifying and Addressing Any Existing Issues Like Mold or Mildew for All Shed Types
Before reaching for the paintbrush, conduct a careful inspection of your shed's surface. Mold and mildew can not only affect the paint's adhesion but also compromise the structure over time. If you spot any signs of these pesky intruders, treat the affected areas with a suitable mold and mildew cleaner. Allow time for drying before proceeding to the next steps to ensure a clean and healthy surface.
Sanding and Smoothing for Wooden Sheds
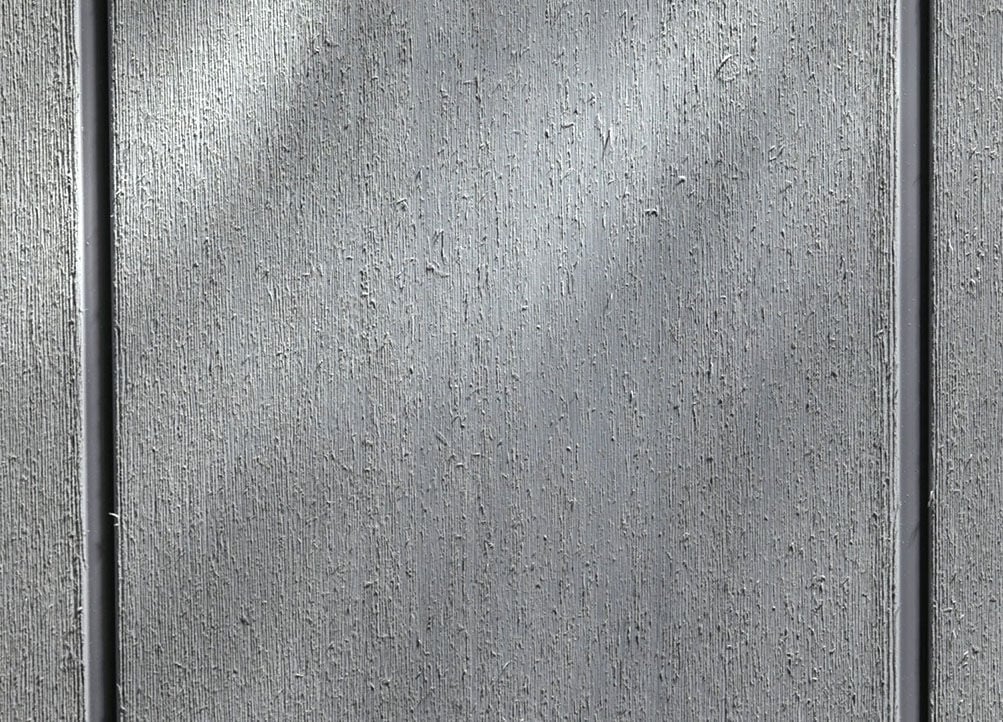
When it comes to Keter resin sheds, you don’t need to sand. Sanding a resin shed before painting is typically not necessary. Resin sheds, especially those with innovative materials like Duotech™ or similar technologies, are designed to have a smooth and non-porous surface. Unlike wood, resin does not absorb paint in the same way, and sanding may not significantly improve shed paint adhesion.
However, wooden sheds need sanding before painting. Achieving a smooth surface is paramount for a professional-looking finish. After cleaning, inspect the shed for rough spots, peeling paint, or imperfections. Sanding not only smoothens these areas but also promotes better paint adhesion. Use medium-grit sandpaper for larger surfaces and switch to finer grit for intricate details. Take care to remove any loose or peeling paint to create a uniform canvas ready for the transformative power of color.
As you embark on the journey of shed transformation, remember that a well-prepared canvas sets the stage for a masterpiece. Taking the time to clean, inspect, sand, and smooth your shed's surface ensures that your chosen shed paint will adhere beautifully, providing not only a stunning appearance but also long-lasting durability.
Gathering Your Tools and Materials for Shed Painting


Before embarking on your shed painting endeavor, assembling the right tools and materials is paramount for a smooth and successful project.
Essential Tools for Shed Painting:
Brushes, Rollers, and Sprayers
Equip yourself with a variety of painting tools to suit different surfaces and areas of your shed. High-quality brushes ensure precision for corners and details, while rollers expedite coverage on larger surfaces. Additionally, consider a paint sprayer for an efficient and even application, saving you time and effort.
Protective Gear for the Painter
Prioritize safety by investing in the necessary protective gear. A durable pair of gloves shield your hands from paint and chemicals, safety goggles protect your eyes, and a respirator minimizes inhalation of fumes. Wearing appropriate clothing also safeguards against accidental spills and splatters.
Selecting the Right Shed Paint:
Types of Exterior Paints Suitable for Sheds
So, what’s the best shed paint? Choose paints specifically formulated for exterior use to withstand the rigors of changing weather conditions. Acrylic latex paints are popular for their durability and flexibility, providing resistance to cracking and fading. Consider specialized outdoor paints that offer additional protection against UV rays, moisture, and mildew, ensuring a long-lasting finish.
Considerations for Choosing the Right Finish
The finish of your shed paint not only influences the aesthetic appeal but also affects durability. For sheds, opt for a finish that strikes a balance between aesthetics and functionality. Satin and semi-gloss finishes are preferable as they offer a level of sheen that is easy to clean and provides a protective barrier against the elements. Consider the level of gloss that aligns with your preference and the shed's architectural style.
Arming yourself with the right tools and selecting the appropriate paint sets the stage for a successful shed painting project, ensuring a professional-looking and enduring finish.
Step-by-Step Painting Process for Resin Sheds and Wooden Sheds
How to Paint a Resin Shed:
When it comes to painting a Keter resin shed, the choice is yours! Many Keter sheds, equipped with innovative Duotech™ walls, provide the flexibility to express your personal style through color. Specifically, sheds like the Oakland and Artisan series can be adorned with water-based acrylic paint designed for exterior use. To ensure a visually appealing and enduring result, it is recommended to opt for solid, light shades, ideally in a satin or semi-gloss finish. While the transformative power of paint allows you to customize your shed to match your outdoor aesthetic, it's crucial to bear in mind that painted surfaces, including those on your shed, require maintenance over time.
- Once you’re sure the shed’s surface is clean, you can get started.
- If the shed is a Keter shed and has Duotech™ walls designed for painting, use water-based acrylic paint suitable for exterior use.
- Choose solid, light shades to enhance the shed's aesthetic, applying the paint evenly with brushes, rollers, or a sprayer for larger areas.
- Once the first coat is dry, typically within a few hours, consider applying a second coat for a more vibrant and durable finish.
- Keep in mind that periodic maintenance may be necessary as painted surfaces, even on resilient resin sheds, may require touch-ups over time due to exposure to the elements.
How to Paint Wooden Sheds:
Wooden sheds offer a classic and natural appeal, and painting them adds both beauty and protection.
- Again, you want to make sure the shed is totally clean.
- Sand the surface to create a smooth canvas, paying attention to corners and edges.
- Apply a high-quality primer to enhance paint adhesion and protect the wood.
- Select an exterior-grade paint suitable for wood, such as acrylic or oil-based paints.
- Brush or roll on the paint evenly, allowing each coat to dry before applying the next. Two to three coats are typically recommended for a rich and resilient finish.
- Regular inspections and touch-ups are advised, especially for wooden sheds exposed to varying weather conditions, to maintain the longevity and visual appeal of the painted surface.
Maintaining Your Masterpiece: Tips for Long-Term Shed Paint Care
.jpg?sw=1440)
.jpg?sw=20)
Preserving the beauty of your painted shed, whether it's crafted from wood or resilient resin, requires a proactive approach to maintenance.
Schedule regular inspections of your shed's exterior, paying attention to areas that may be prone to wear and tear. Check for signs of peeling, cracking, or fading. Promptly address any issues by performing touch-ups with the same paint used initially. For wooden sheds, inspect the wood for any vulnerabilities like splinters or areas prone to water damage. Timely touch-ups not only maintain the aesthetic appeal but also prevent more extensive and costly repairs in the future.
By incorporating these maintenance tips into your routine, you can extend the life of your painted shed and keep it looking vibrant and well-kept for years to come, regardless of whether it's made of wood or robust resin materials.


We build in a sustainable manner.
We use innovative materials and leading technologies to build planet-friendly products that last a lifetime.